Showing posts with label puppets. Show all posts

Monday, 12 November 2012

Nativity Hand Puppets

Thought I'd share these little felt nativity hand puppets that I made for Christmas last year. This was in my pre-sewing machine days so I just hand sewed the puppet and used craft glue to attach the fabric. I wish I'd sewn the pieces on now as it would look much nicer but they're holding up pretty well!

Here's Mary and Joseph and baby Jesus. All the puppets have a little velcro spot on them so they can give and receive gifts. Sheep from the shepherds and gold, frankincense and myrrh from the wise men. :)

The angel and the shepherds and their sheep. The sheep were the most fun to make!  


And finally, the three wise men. The one in the middle is my favourite, mainly because of the awesome fabric my cousin gave me for his clothes. And the guy on the right is supposed to be carrying a little chest, not a handbag... :)

*Update - I've had a few requests for patterns for these puppets. Unfortunately I don't have them anymore as I made these last year (a.k.a. pre- blog!) and threw them away. But I based them on ones I found over at TipJunkie and I just found some cute ones over at This and That for more inspiration too. You just need a hand puppet base that's big enough for your/your kids' hands and then you can use the same template for the faces and clothes and just change the fabric. I just made my pattern pieces on scraps of paper.

**Another Update - Although the puppets are not for sale I have made them into images and created a nativity word wall and flashcard set from them which is available here in my TPT store.
Nativity Word Wall and Flashcards

Things I've Learnt:
- Ha ha well since this time last year? Sewing machine's aren't so scary after all.


Wednesday, 12 September 2012

Day 19 - Balloon Parcels!

Balloon Parcels!
Remember the Princess Finger Puppets that I made a week or so ago? Well they've been featured on "Sew Cute Tuesday" @ The Creative Itch. Which means I get my first featured on button!! :) So once I finally pick my new blog design I've another page to add to display my button!

Photobucket
Now with added Rapunzel!


This also reminded me that I hadn't actually got around to sending these puppets to their new home! I remember being a kid and always being so jealous of all the post that my parents got (if only I had known that most of those were bills!). So rather than give my cousin's their presents in person I thought it'd be fun to post them. 


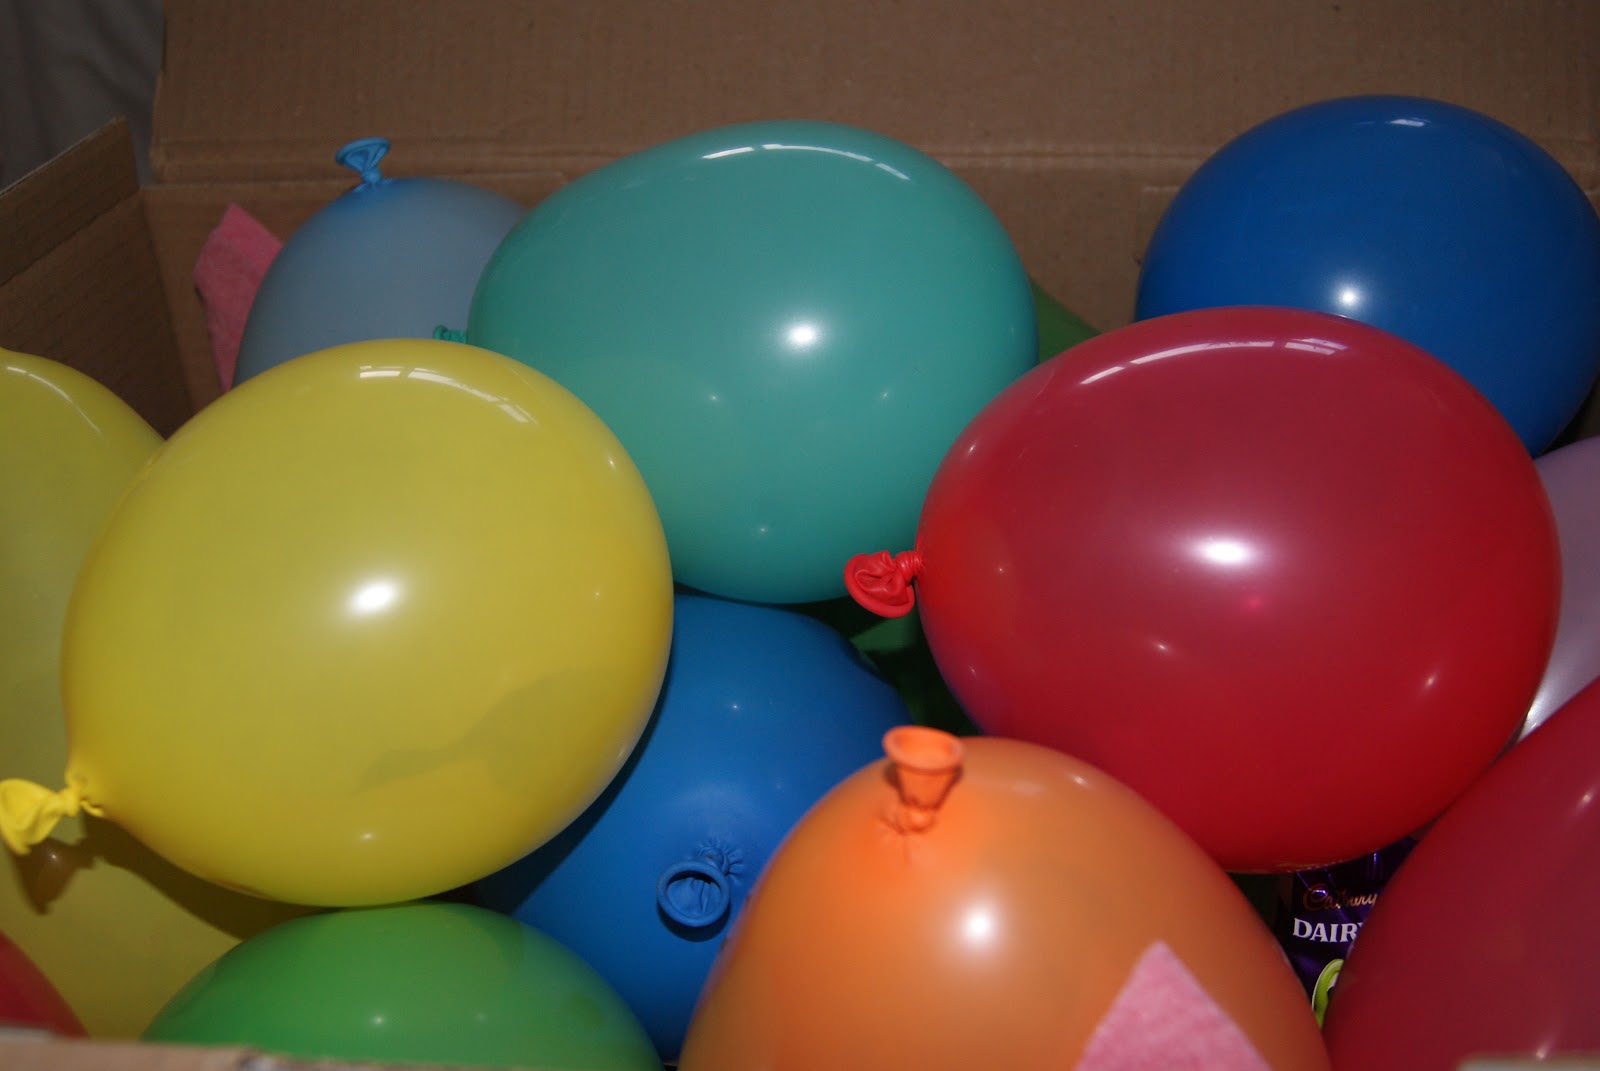
I had seen a great idea on pinterest (from She's Crafty) for sending kids money on their birthdays. You put the money inside balloons, inflate them and send the child a box of money filled balloons! So I decided to put my little puppets and some sweets into balloons for the girls!


 It was a bit tricky getting them into the balloons at first but in the end I just stretched them as much as I could, folded up the finger puppets and squashed them inside. Once I blew up the balloons they popped out into their normal shape (and no-one lost an eye!)


The finished box! What kid wouldn't love to receive this in the post!! :)

Things I've Learnt:
- Putting lollipops inside balloons is not such a good idea... unless you like the sound of balloons bursting!


Saturday, 1 September 2012

Day 8 - Princess Finger Puppets

I decided I should be nice and make something for my two little cousins. The younger one is obsessed with all things princess so when I came across these cute princess finger puppets  I knew I had to make them for her! And then I saw the castle bag (which I love even more than the puppets!) and decided her sister needed some too because I'd never find an equally cute present for her! 


Pinterest led me to Made it on Monday where I found not only great ideas and pictures but patterns too! Then a bit more searching led me to A "Little" Journey and The Ulep Family and I had all the inspiration I needed! :)


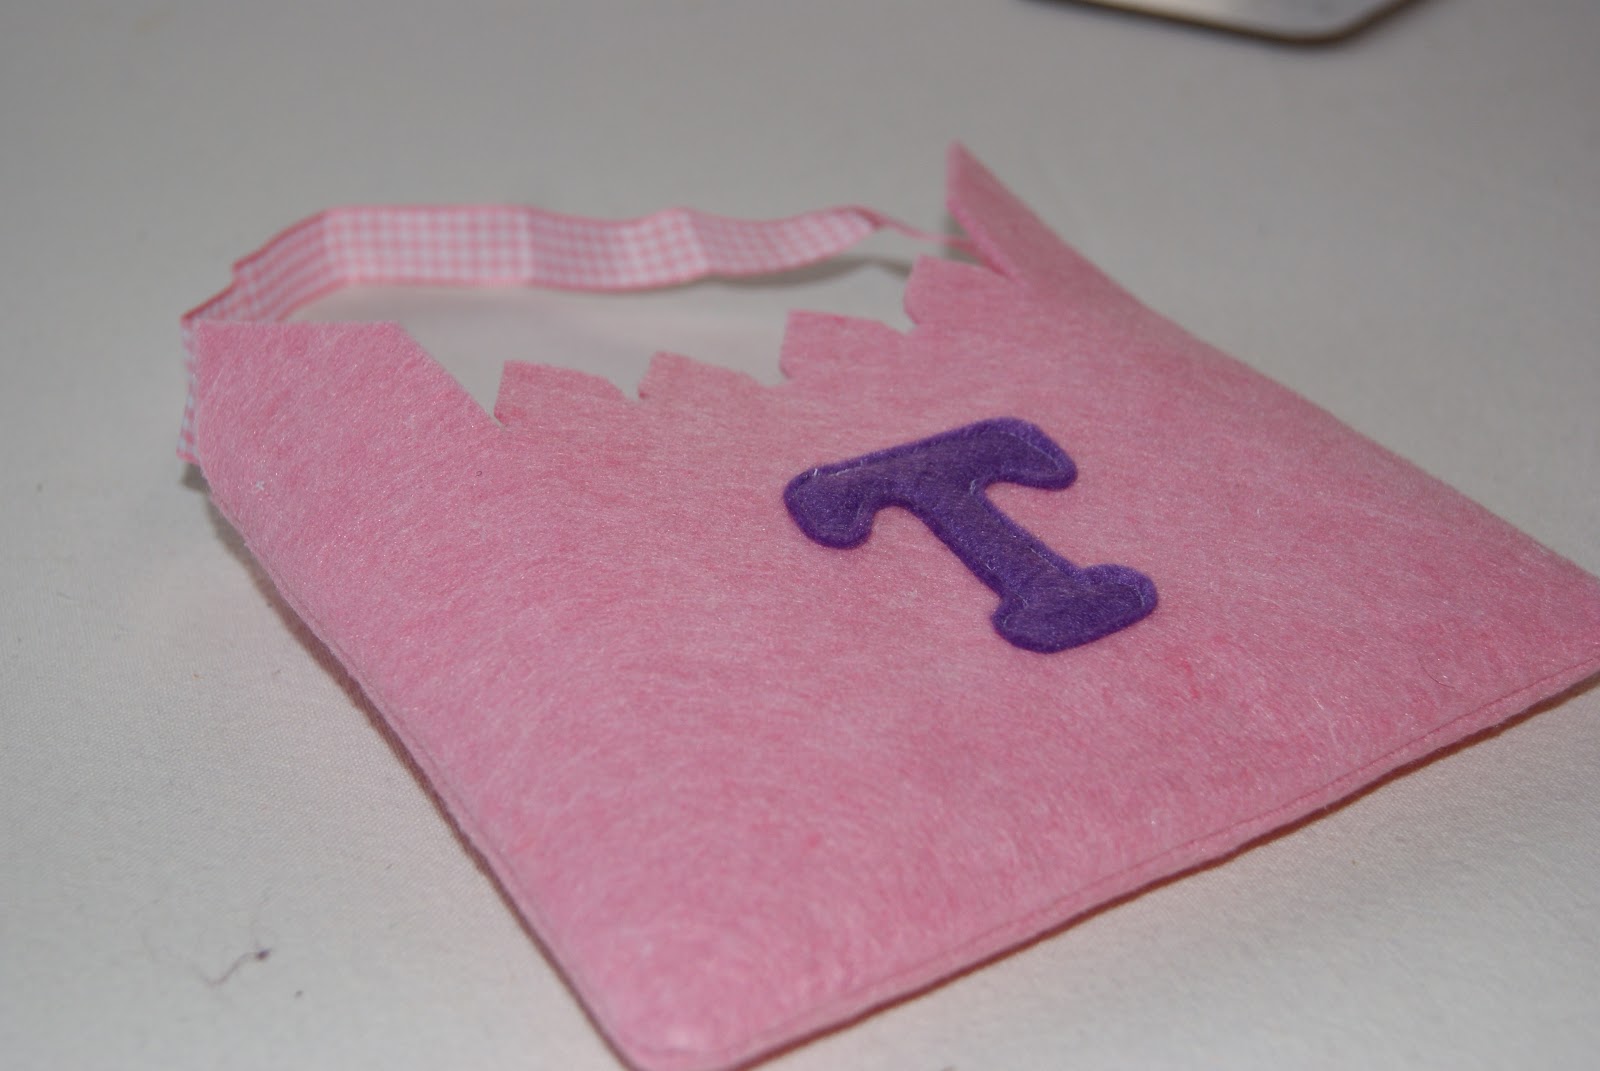
I love love love these little bags. I was going to put a drawbridge type door on them to make then even more castle like but I think the letters look cuter. Super easy to make - two pieces of pink felt, cut out castle shape, sew together, turn the right way around and add a ribbon handle! 


I've only made Cinderella, Ariel, Belle, Aurora, Snow White and two princes so far but seeing as I've got an odd number I'll definitely have to make at least one more! I'm torn between Jasmine and Rapunzel. Realistically I'll probably make both so I'd better just find a third! 


Pretty happy with them. Although Ariel does look like an egg... and their eyes and mouth make them all look a little sad... and I really need to re-sew on the R... but... well I like them anyway! Oh and best part for me (apart from making the awesome bags, have I told you I like the bags??) was using fusible webbing to save on all the sewing! I just sewed the main finger part and used webbing for the rest. I'm not 100% convinced it'll hold up but its so much easier and quicker than sewing and feels more professional than glue! 

Things I've learnt:
- Its amazing how ingrained Disney is in our minds, just a change of dress colour and there's no doubt which princess it is. Scary really. Who says Cinderella didn't like pink? 
- Little armless finger puppet dolls are kinda creepy, cute as they are...
- Fusible webbing is amazing!! I wanna go make loads more felt projects now just to use it!

Oh and I have a super cute idea for how to post the girls their gifts, watch this space... :)

Linked up to these blog party - Creative ItchToday's CreativeThreading My Way


*Update* Finally got around to making Rapunzel and sending the puppets to their new home - have a look here and see how I did it!

Monday, 27 August 2012

Day 3 - Barnyard Animal Hand Puppets


Day Three -
Barnyard Animal Hand Puppets!


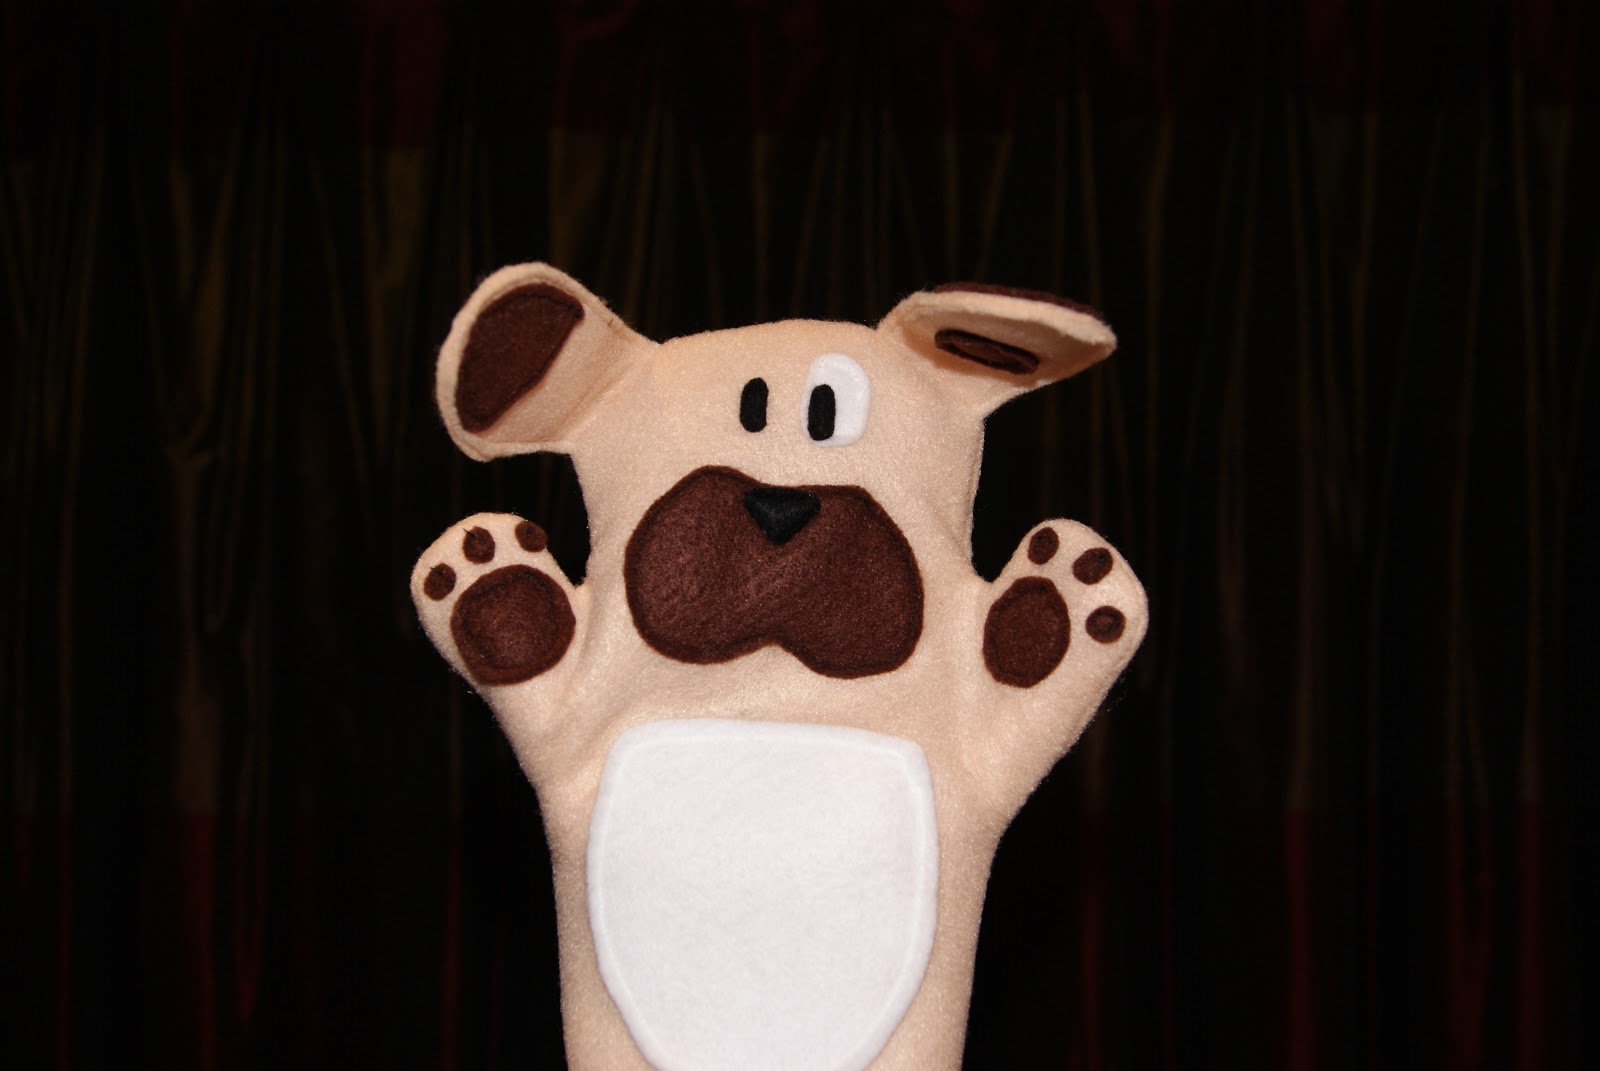
Well it's a good thing I have this little blog, otherwise I would have quit and gone to bed hours ago! But I've finally finished battling with the sewing machine and am proud to present my barnyard animal hand puppets!! They took way longer than I'd expected and there were a few touch and go moments where I feared I'd sewn the pigs ears on backwards and forgot to add the spots to the puppy's back but we got there in the end. :)


So first step was to cut out all the pieces I needed:


Next I sewed the pieces to the front and back of each puppet. Which took f-o-r-e-v-e-r!! Those little paws? Ugh!!


Then I pinned the front and back together and sewed them up!


Moment of truth - turn them the right way out and hope those ears are on right!!


 Here's the whole crew from the front and back:


They're from a set of Old MacDonald puppets that I found patterns and a tutorial for here but I haven't made them all. Maybe I'll add to my collection another day!


Love these two the most!!


Things I have learnt:

- Sewing machines are the devil!
- Bad sewing can be fixed by trimming off all the excess felt from where your straight line has gone diagonal!
- Sewing takes forever!! Maybe doing one project a day was a bit ambitious!
- I kinda love puppets!
- Oh and some stuff about adjusting tension, replacing sewing machine needles, how to sew a bit more neatly and I made a pretty delicious strawberry, raspberry and blueberry smoothie today. mmmm... :)

Small project tomorrow I think!


Linked up to Threading My Way

LinkWithin

Related Posts Plugin for WordPress, Blogger...