Showing posts with label baking. Show all posts

Friday, 5 October 2012

Halloween Cookies


Chocolate Halloween Cookies

So blog-land is filled with all things Halloween at the moment. And being an Irish girl I figure it's my duty to join in on the fun. Hallowe'en is originally Irish after all.

Surprised to hear that? Well I don't blame you. Most people automatically associate Halloween with America. And to be honest I don't think we do near enough in Ireland to embrace Halloween.  But it's still kinda a big deal here. Supposedly it derives from the Celtic festival of Samhain. This was a celebration of the beginning of winter and the darker half of the year. And it does get dark. :( We're talking 4pm dark. But you can't expect those poor souls to go a roaming if it's bright outside! 

I grew up dressing in black sacks with coal smeared on my face (a witch) or with an old sheet thrown over me (a ghost) and heading out trick or treating. My neighbours were pretty keen on the  trick part which they led me to believe meant that I had to do a trick to impress them (say a poem or tell a joke) before I was given any peanuts or apples or sometimes Wagon Wheels if we were lucky! Then we'd come home and play some Halloween games, like bobbing for apples.

Oh and the best bit? Dinner! We'd always have Colcannon. There may be a blog post in this on its own actually. Let me know if you'd like the recipe! It's basically mashed potato mixed with cabbage or kale but like all my favourite foods there's a surprise inside. You wrap coins up in baking paper and hide them in it! We used to get so excited searching for money and competing to see who had the most. 

Oh and then after dinner we'd have Barm Brack. It's a kind of bread with sultanas and raisins in it but hidden somewhere inside there's a ring! Now ours tended to be a cheap plastic ring but it was still pretty exciting. I didn't even like the bread as a kid but I'd eat it just to try to win the ring. :) Traditionally I think the barm brack was used for fortune telling. They used to put a coin and a piece of cloth and a few other things in with the ring and each had a meaning. If your piece had the coin in it then that signified good luck or wealth in the coming year. 

Anyway, you're not here for my reminiscing! You want to make cute little skeleton and mummy chocolate cookies, right? :) I was going to make these as gingerbread men but something about that just seemed too Christmassy. Plus I was making them for my sister and I wasn't sure if she liked ginger. But I knew she liked chocolate! :) I found the recipe and idea over at Our Best Bites. Check it out for some even cuter little skeletons!

Ingredients

-  1 cup (2 sticks) butter
- 1 cup sugar
- 1 egg
- 1 tsp vanilla essence
- 2 ½ cups plain (all purpose) flour
- ½ cup cocoa powder
- 1 tsp cinnamon


Preheat oven to 350° F (175° C). Line baking sheets with parchment.

Cream together butter and sugar until light and fluffy. Beat in the egg and vanilla essence until well combined.


Mix flour, cocoa powder and cinnamon together. Slowly add to the butter/sugar mixture, stirring first and then beating until well combined.

Wrap the dough in cling film and place in the fridge for 30 minutes (or the freezer for 5/10). Lightly dust your work surface with a mixture of cocoa powder and flour. Roll out the dough to about ¼ - ½ inch thickness.

Use your favourite gingerbread man cutter to cut out your little men and place them on your baking sheet.

Bake in the oven for 8-10 minutes. Leave to cool for a few minutes and then transfer to a wire rack.


Chocolate Skeleton Cookies

Chocolate Skeleton Cookies

Then get decorating! I just used icing sugar mixed with a bit of water for the icing. Then use a piping bag to draw on his bones. For his face draw the outline, eyes and mouth and then fill in the rest.

Chocolate Mummy Cookies

Chocolate Mummy Cookies

I wish I'd used a thicker nozzle for the mummies. But they're pretty forgiving. Just drizzle it over any old way. And don't forget to give him some eyes!


 Things I've Learnt:
-  It's kinda tricky to tell if they're done cos they don't change colour but the dough will look less wet. 8 minutes was plenty for my little guys.
- If you get a bit excited transferring them to the wire rack you may accidentally break their heads off... But that's just scarier right?
- Doing the icing takes forever!! Give yourself plenty of time. :) The skeleton icing was actually much easier than the mummies! But that's just cos I'm an idiot and couldn't figure out what it should look like.
- I kinda wish I'd made ghosts too. They'd be so easy - just cover his body in white icing and give him little black eyes.
- Oh and I just bought a black icing pen. Too much fun! I just need to think of more uses for it than mummy eyes...
- Check out my grape Halloween costume for more Halloween-y fun! :)

Chocolate Halloween Cookies


If you want an easier option I love these cute cookie cutters!! They do all the hard work for you! :)


Monday, 1 October 2012

Day 28 - Raspberry Swirl Cheesecake Cupcakes

So aside from brownies and cupcakes with things hidden in them, my one true love is cheesecake!! 

I particularly love no bake cheesecake (you know the kind - cream cheese, jelly mix it all up and put it in the fridge to set). Baked cheesecake can be a little hit and miss though, sometimes it's just too heavy for my liking. To be honest I've always been a bit afraid of attempting to make it. Pathetic, I know! So I decided what better way to overcome that fear than making teeny tiny little cheesecakes like the ones I found over at Annie's Eats!

Raspberry Swirl Cheesecake


Something so cute and small couldn't cause any trouble, right? :)


Ingredients:
Cheesecake Base
- 1 ½ cups Digestive Biscuit crumbs
- 60g melted butter
- 3 tbsp sugar

Raspberry Swirl
- 160g fresh raspberries
- 2 tbsp granulated sugar

Cheesecake Filling
- 900g cream cheese
- 1 1/2 cups sugar
- pinch of salt
- 1 tsp vanilla essence
- 4 large eggs

Directions:


Preheat the oven to 165° C (325° F). Line your cupcake tins with cases. This recipe makes about 32 little cheesecakes.

In a small bowl combine the digestive biscuit crumbs (I put the biscuits in a small bag, tie it and crush them with my hands or a rolling pin), melted butter and sugar.


Place about 1 tablespoon of mixture into the bottom of each cupcake case. Use a clean glass to press the crumbs down so they are firmly packed.

Bake in the oven for 5 minutes to set the bases. Cool on a wire rack.


To make the raspberry puree blend the raspberries and sugar together in a blender or food processor until smooth.

Pour the puree through a sieve to remove the seeds.

In a separate bowl beat the cream cheese until fluffy. Add the sugar, salt and vanilla essence. Beat until smooth.

Add in the eggs one at a time, beat well after each addition.
Spoon 2 tablespoons of filling on top of the base into each cupcake case.

Pour about half a teaspoon of puree in three dots into each cheesecake. Use a cocktail stick to swirl the puree and create a marble effect.

Bake until the filling is set - about 22 minutes. Transfer to a wire rack to cool. Refrigerate for 4 hours before serving.


Raspberry Swirl Cheesecake

Serve with more raspberries and leftover raspberry puree. 
Mini Raspberry Swirl Cheesecake

Delicious!! :)

Raspberry Swirl Cheesecake


Things I've Learnt:
- 32 sounds like a lot but we all ate at least two each, they won't last long!
- Don't accidentally forget to take one tin of cheesecakes out of the oven. They will burn... :( At least I had two other tins!
- Don't decide to make these little guys an hour before dinner. They're supposed to be refrigerated for 4 hours before eating them!!! (They actually taste amazing anyway, just convince your dinner guests to take a little longer finishing their main course! 20 minutes was better than none.)
- Honestly though, these taste amazing. Turns out baked cheesecake isn't so scary after all. :)


Thursday, 27 September 2012

Day 27 - White Chocolate Truffle Cupcakes

There's been a bit of a lack of baking round here lately so last night I decided to fix that by making the most delicious decadent cupcakes! White Chocolate Truffle cupcakes - sound amazing right? :) I've adapted this from a recipe I found at The Pampered Chef.

White Chocolate Truffle Cupcakes


And even better - the truffles are hidden inside the cupcakes! And you all know how much I love hiding stuff in cupcakes! (Like these Brownies Cupcakes with strawberries hidden inside and Inside-Out Carrot Cake Muffins).

Ingredients:
Cupcakes
-  1 ¾ cups of plain flour
- 2 tsp baking powder
- ⅔ cup of whole milk
- ½ tsp vanilla essence
- 4 egg whites
- 85g butter
- ½ cup granulated sugar
- ¼ cup sour cream
- 12 white chocolate truffles

Icing
- 175g white chocolate
- 200g cream cheese
- 55g butter
- 1/2 tsp vanilla essence
- 2 cups icing (powdered) sugar


Preheat your oven to 160°C (325°F). Place muffin cases into your muffin tin. (I still think these are cupcakes and not muffins though!)


Add flour and baking powder to a bowl and stir together.


Combine milk and vanilla essence in a glass/small jug.


Separate your egg whites from the yolks.


Add egg whites to a bowl and beat until stiff peaks form.


Beat butter and sugar together in a large mixing bowl until fluffy.


Add sour cream and beat until smooth.


Add flour mixture in three parts, alternating with milk mixture in two parts. (As in flour, milk, flour, milk, flour!) Beat until well combined.


Fold in egg whites and stir until smooth.


Divide the mixture evenly between the muffin cases.


Bake for 17 - 20 minutes until lightly golden brown.


Unwrap your white chocolate truffles. Try not to eat them all. :)


Now the fun part! As soon as you take them out of the oven snip an X in the top of each cupcake. Press one truffle into each one! Leave them in the muffin tin while you do this. The truffle's will melt into the cupcake. mmm :)


Then place them on a wire rack to cool.


Now for the icing - melt the white chocolate. Put a bowl over a saucepan of hot water on a medium heat. Place the white chocolate in the bowl and slowly melt, stirring all the time. (Nothing worse than burnt chocolate so take your time and don't microwave it!!)

Let the chocolate cool (pour ice cold water into the saucepan and place the bowl into it to speed this up). Then add cream cheese, butter and vanilla essence. Beat until well combined.


Slowly add the icing sugar and stir. Then beat until smooth. Then ice up your cupcakes! :)


White Chocolate Truffle Cupcakes


Things I've learnt:
- This recipes uses a lot of bowls! Keep your main big mixing bowl for the butter as that's what you'll be adding everything else into. I used mine for the flour and had to transfer it to yet another bowl! (I love baking but hate washing up after so anything to avoid using unnecessary bowls!!)
- The recipe says to put the truffles in as soon as you take the cupcakes out of the oven but I think I'd leave them a few minutes first in future. That way the truffle would melt but not completely like mine did.
- There's a reason why the truffles are to be put in while the cupcakes are still in the tin though. I took one out to see if I could get it in better (as in without just shoving it in!) and the sides of it cracked! :(
- This makes a lot of icing. I'm not a huge fan of excessive icing on cupcakes so I'd say half the amount would have done me. As it is I went overboard icing them and still have a little bag of icing in the freezer for another day. Can you even freeze icing? Well we'll see! :)
- I think I'd try milk or dark chocolate truffles next time too. Just to add some colour!
- I love this website - Traditional Oven - for converting measures of ingredients.


Monday, 10 September 2012

Day 17 - Anzac Biscuits

I needed to make something quick as we had visitors coming over and I remembered Anzac biscuits! Quick and easy to make and super tasty!

I actually made these with a class when we were studying Australia. So I figured if I make these in school with 30 ten year olds then I could definitely throw together a quick batch tonight!


For any teachers out there these are really easy to make with a class and there's lots of cross-curricular learning opportunities! There's lots of easy weighing if you're doing measurement in Maths. And the reaction when you add the bicarbonate of soda to the butter/golden syrup shows carbon dioxide being created so lots of science links possible there. And for history and geography - Anzac stands for "Australian and New Zealand Army Corps" and the story goes that during WW1 wives sent these biscuits to their husbands at war as they didn't spoil easily so they could survive the long journeys. Wikipedia tells me those Anzac biscuits were a bit different to the ones made today but it's still a good story!

And did I mention they taste good? :)

Ingredients:
-125g butter
- 2 tablespoons golden syrup
- 3/4 teaspoon bicarbonate of soda
- 1 tablespoon water
- 150g plain flour
- 90g porridge oats
- 90g desiccated coconut
- 165g caster sugar


Preheat the oven to 160°.


Weigh the butter.


Add the golden syrup. mmm :)


Melt the butter/golden syrup mixture.


Combine bicarbonate of soda and water in a small bowl.


Stir into the butter/golden syrup mixture. (It should foam up a little here!)


Weigh the flour and sieve into a bowl.


Weigh the porridge oats, desiccated coconut and sugar and add to the bowl. Mix well.


Add the butter/golden syrup mixture. Bonus points for spilling it onto your counter top...

Stir well to combine.


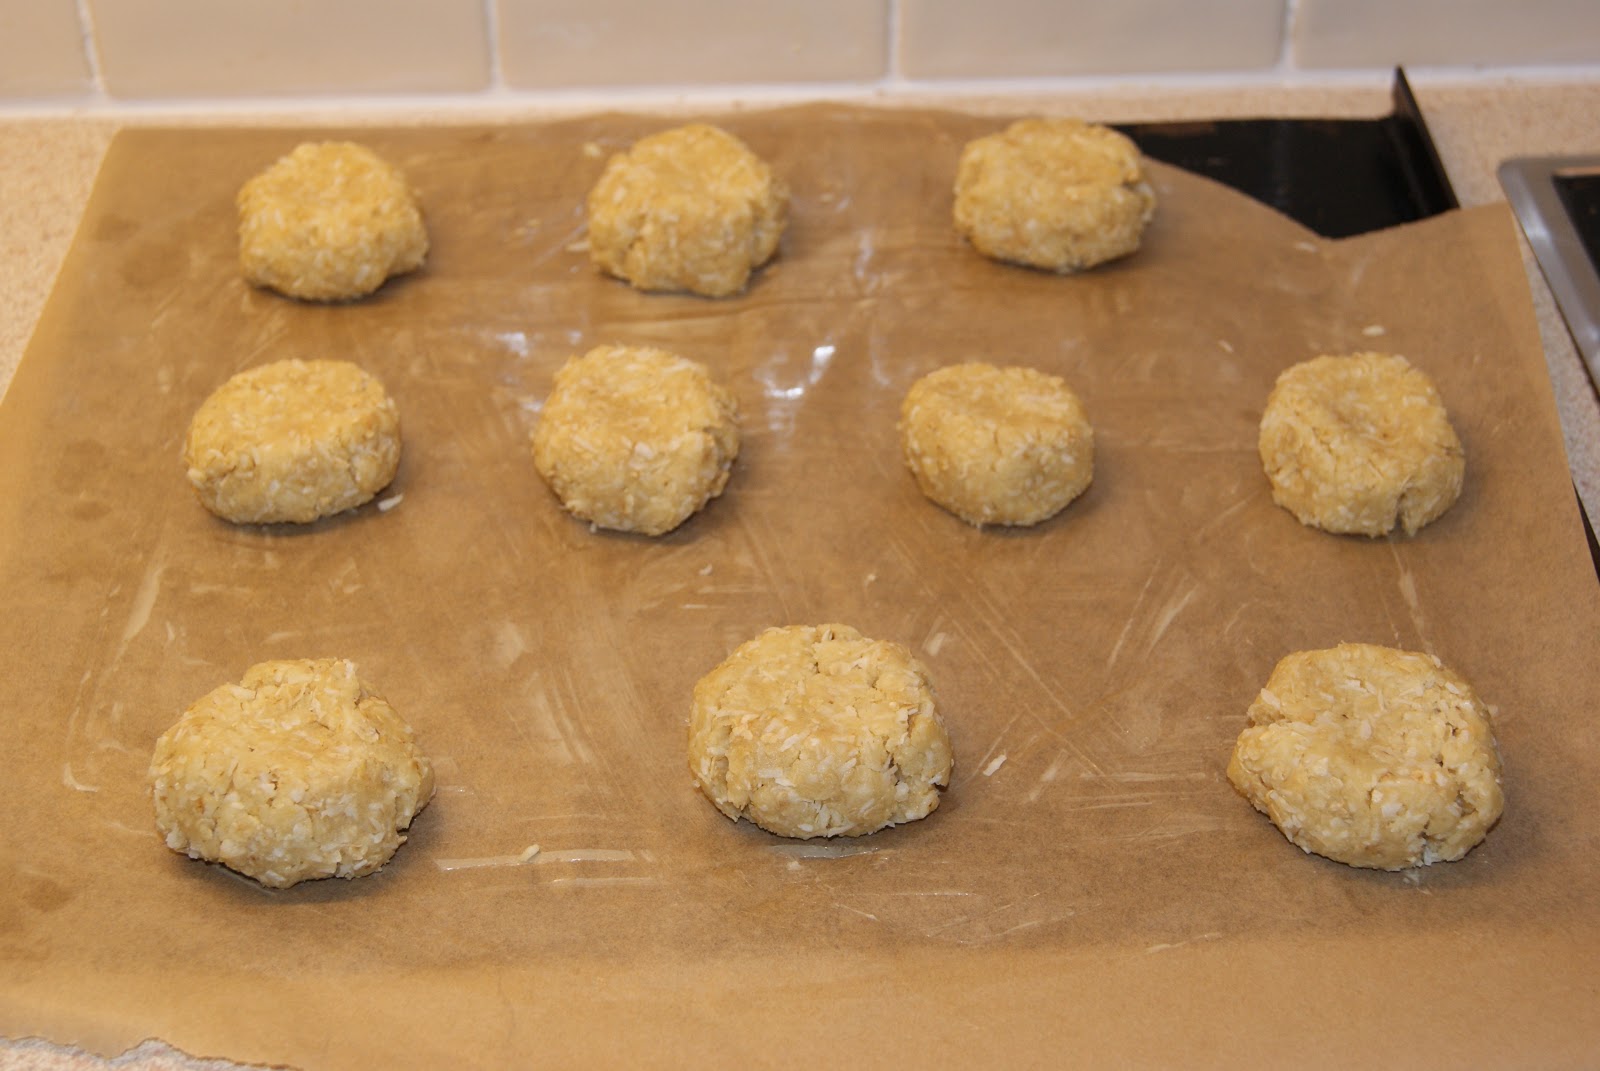
Roll rounded teaspoons of dough into balls. Place about 4cm apart on a tray lined with grease-proof paper. Flatten slightly.


Pop in the oven for 12 - 15 minutes or until golden brown.


Remove from the oven and cool for 5 minutes on the baking tray.


Transfer to a wire rack to finish cooling.


Serve up and enjoy! :)


Things I've learnt:
- Coconut makes everything taste good. Must find more coconut recipes! (Suggestions are welcome!!)
- 12 minutes is definitely long enough in my oven. Sorry over-done first batch. :(
- ° in html code gives you the degree symbol °
- Anzac biscuits make awesome midnight snacks. :)

LinkWithin

Related Posts Plugin for WordPress, Blogger...