Showing posts with label tutorials. Show all posts

Thursday, 15 November 2012

Homemade Glitter Name Crayons

Homemade Glitter Name Crayons


So it's all go on the Christmas present production front here. Next up - homemade glitter name crayons! :) I first saw and pinned this idea almost a year ago - re-use old crayons to make cute little heart shaped crayons! I'll probably still do this for my class for Valentine's Day but hearts aren't very Christmas-y and it's been too long since I last melted something so decided to make these cute glitter name crayons instead!

They're so easy to make, especially if you can rope in some little helpers to peel the paper off the crayons! Here's how you do it:

Broken crayons all set for melting!

First peel the paper off your crayons, break them into little pieces and sort them by into colour groups. It's up to you how many different colours you want in each crayon but be careful not to let them mix together too much when they're melted unless you want a whole bunch of brown crayons! 


A craft knife will make the annoying job of peeling so much easier! :) Failing that, pop them in a  basin of warm water for 10 minutes.


Next grab some alphabet ice cube trays. I searched for weeks for these but ended up buying them on amazon. These are the ones I bought. They're freezer and oven safe so perfect for this!
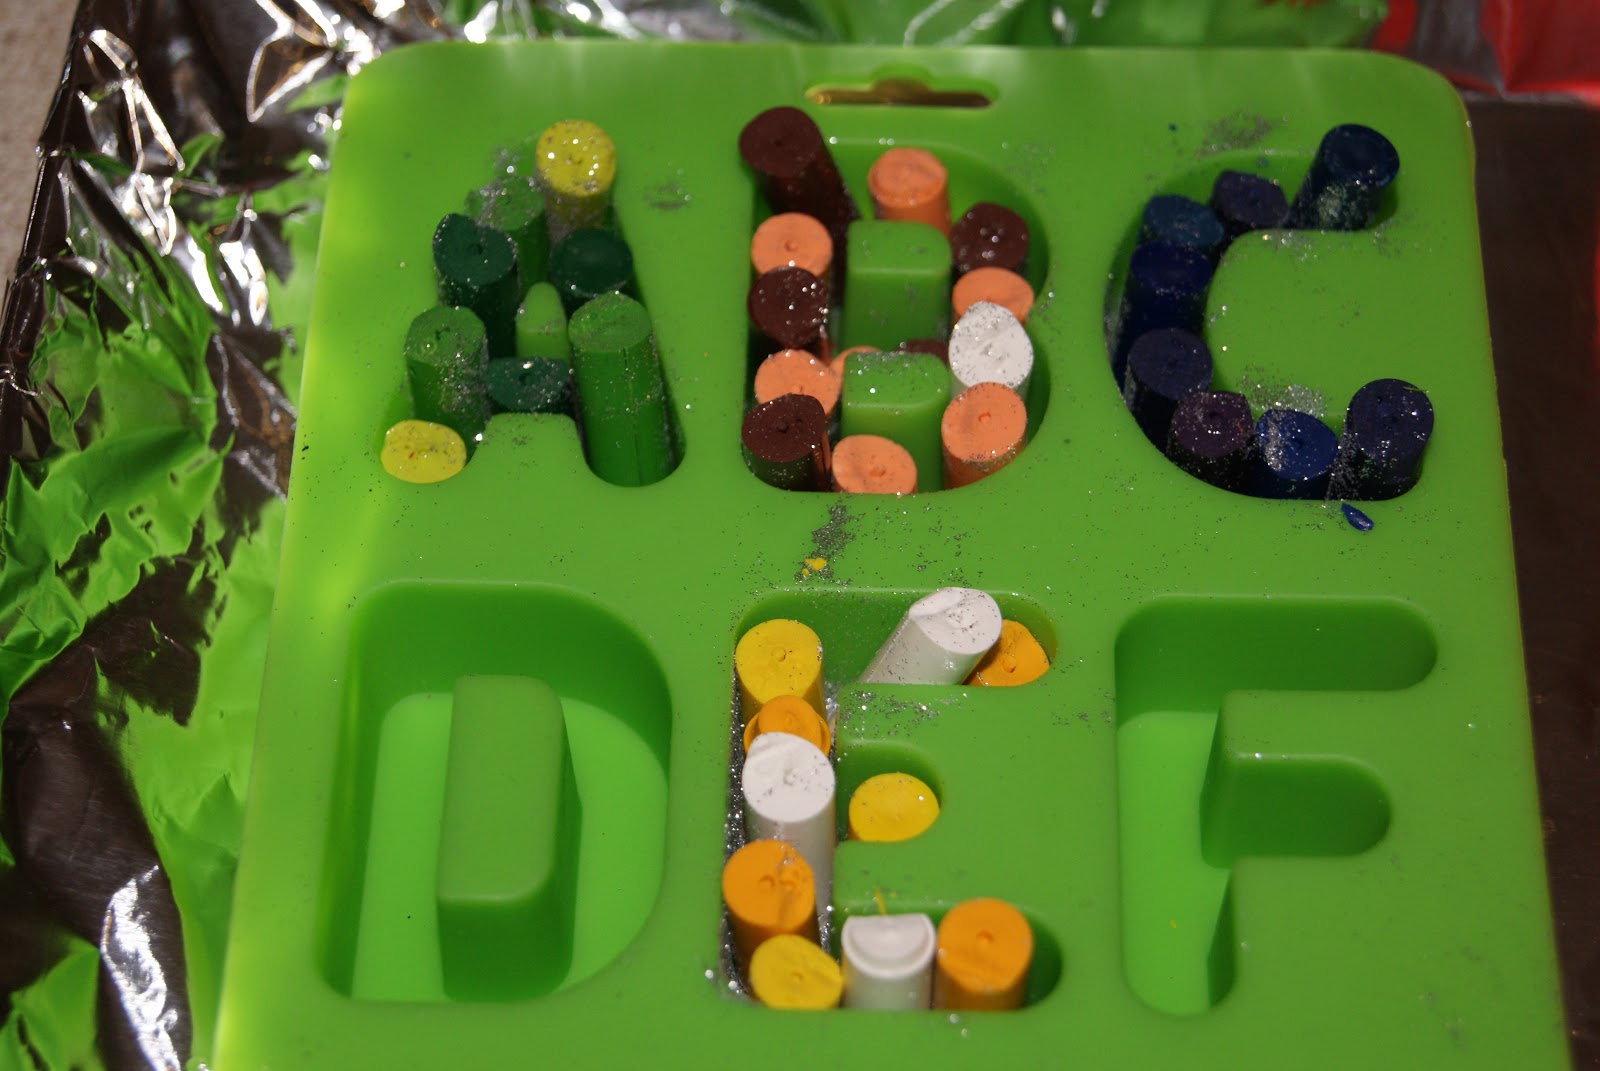
Melted crayon letters

Pour a little glitter into the bottom of the ice cube tray and roll your little crayon bits in more glitter. Then slot them into the letter spaces. 


Put them on a tray and pop them into the oven. It's a good idea to cover your tray in tinfoil in case you get any spillages, I can't imagine cleaning crayon out of the oven is much fun! 

I had them in on a low heat (about 140° C) for about 5 - 10 minutes. But just keep an eye on them and keep checking them. Make sure they're fully melted and then take them out of the oven to cool. Be careful moving the tray, the more you shake them the more the colours will mix.


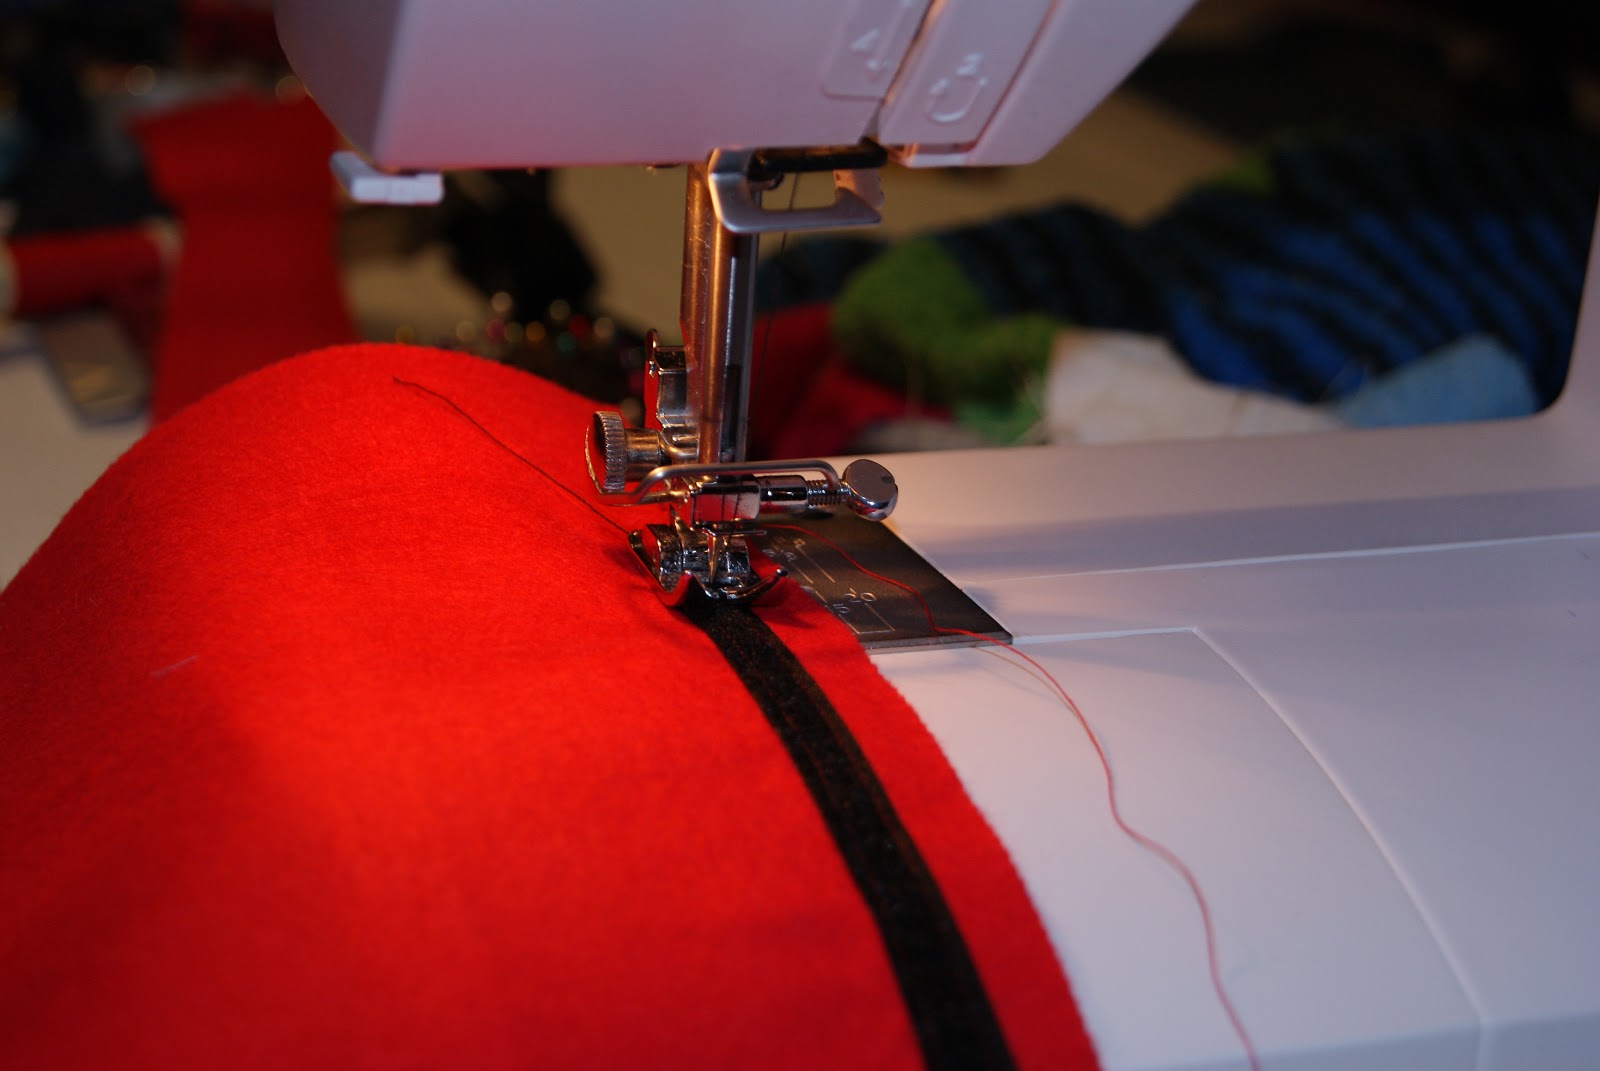
While I was waiting for them to cool I sewed some little bags to keep the crayons in. :)


Then pop them out of their trays and into their little bags! 


They actually come out quite easily, I didn't have one broken crayon. Although I suppose if they do break you know exactly how to fix that! :)

Homemade glitter alphabet crayons

The letters can of course also be used to make lots of other words and are great for some tactile letter exploration. Next I'm going to make a full alphabet set for school. If I can bring myself to peel more crayons that is... :)


Things I've Learnt:
- As ever when crayons are concerned it's worth paying the little extra for good quality ones! At a push I'd mix in a few old cheap ones with the Crayola ones.
- Peeling the paper off is definitely the most time consuming part of making these. So either soak them in warm water first or use a craft knife to slice the paper wrapper open.
- I wish I'd added a bit more glitter but I only had glitter in a bag and it was so messy!! Next time I'll get a little tube and sprinkle some more in. Cos really you can never have too much glitter in life. :)
- Use a toothpick to swirl the melted crayons if you want the colours to marble a little or mix completely. I didn't touch most of mine (bar the light blue one) as I wanted the colours to stay a little distinct.


Thursday, 8 November 2012

Etch-a-Sketch iPad Cover

Etch-a-Sketch iPad cover tutorial


I had a lot of fun making my first iPad cover so I decided to make another one! :) As much as I love my iPad I think I probably got more enjoyment from toys I had as a kid, like my Etch-a-Sketch. So why not combine the two! I did a little searching and found this great iPad cover at Smashed Peas and Carrots and decided to have a go myself. She has a super tutorial so if this doesn't make sense then check it out! I think hers is for an original iPad though, this was made for my new iPad. I was a little generous with the dimensions cos I wanted it to fit in with a thin rubber cover on it too so just test yours as you go!

                              It's a lot of fun to make! Want to make one? Well keep reading!


Here's what you'll need: 
- 2 pieces red felt for the inside @ 10" x 12"
- 2 pieces red felt for the outisde @ 10.5" x 12"
- 1 piece grey felt approx 8" x 10"
- 2 pieces wadding @ 10.5" x 12"
- red and grey thread, white embroidery thread
- velcro (preferably red)
- 2 large white buttons


Once you've cut out all your pieces, pin the velcro to the top of two pieces of red felt. 


Sew them in place, making sure they will line up properly. Use at least two or three rows of stitches to keep it nice and secure. We don't want your little iPad falling out! :)


Once that's done, pin the two pieces of felt rights sides together. You velcro should be closed and hidden, like the picture. Sew down the sides and across the bottom but leave a gap of about 3 or 4 inches at the bottom for turning later. Make sure you don't sew across the top!
This will be the inside of your cover so if you're not sure how much seam allowance to leave, test to see if your iPad fits in snugly!


Now we can get to work on the outside of your cover. First you need to cut a rectangle out of one piece of red felt. You'll be putting the grey felt behind it as your Etch-a-Sketch screen. I wish I'd made my "screen" a little smaller but I'll give you the dimensions I used and let you make up your own minds! It's 6" x 8¾".


This is the really fun part! You could do any design you liked on this. I went for simple, figured sewing it with my sewing machine might be almost as tricky as drawing it on an Etch-a-Sketch! First I drew my design on the felt using a vanishing ink fabric pen and my trusty ruler. Then I sewed over the lines with grey thread, easy. :)


Next you place the grey felt behind the red frame and pin it in place. Sew around the edge to secure it in place.


Sew your two large white buttons in place. Now you have the knobs for your Etch-a-Sketch. 


Use your embroidery thread to add some text at the top. Make sure to leave enough space at the top to allow for your seam when you sew it all together! (This is why I wish I'd made my "screen" a bit smaller).


Sew your wadding onto each piece of red felt. This will keep it in place for the next step. Make sure you sew it to the wrong side of your front piece!


Pin your two pieces of felt/wadding together, right sides facing. Sew around the two sides and the bottom. Leave the top open.


Clip the corners, trim the excess and press your seams. Then turn your cover the right way out.


Now take the inside piece that you made earlier. Place the cover inside it so it looks like the picture above. 


Pin the pieces together and sew carefully along the top. 


Using the gap at the bottom of your inside piece turn your cover the right way out. The two pieces should be joined as they are in the picture. Sew across the bottom of the inside piece to close the gap and push it inside the cover.

iPad in its Etch a Sketch cover

Test drive it with your iPad! :)

Things I've Learnt:
- Leave a little extra felt on the top/open end as when you sew it up at the end you'll lose a little space.
- Press the seams, I'm lazy so I didn't and regret it. :(
- Sew the buttons on after you sew in the grey felt, much easier than trying to navigate around buttons with your sewing machine!
- If you don't have a vanishing ink fabric marker then print or draw your design and pin the paper to your felt. I did it this way when I made my felt marbles maze and it worked out great!
- I'm thinking this would make a cute phone or kindle cover too.
- You could always buy a hard cover one if you're not a sewer. :)


Saturday, 3 November 2012

Chalkboard Wine Glasses

I have some of those cute little wine glass tags that party guests hook onto their glass to remember it's theirs. They're reindeer and they are adorable! But people often forget which reindeer is theirs! And reindeer should really only be used at Christmas time. So I decided to search for an alternative. Turns out many many people had already solved my problem! Paint the glass with chalkboard paint and let guests write their names on them! Too cute!

An alternative to glass charms - chalkboard paint!


I've had this pinned for ages but only just got around to buying some cheap wine glasses to give it a try this weekend. I was originally thinking they'd be cute to use at Christmas (watch out reindeer!) but it turns out my red chalkboard paint is actually pink! Ah well, I love them anyway!

What you need to make your chalkboard wine glasses

Pretty happy with the results. And they were really easy to make! My inspiration came from Just Short of Crazy . She had the bright idea to dip the entire bottom of the glass into the paint. But my paint pot was pretty small and I figured I end up wasting a lot of paint if I transferred it to a bigger container. So I just painted them with paintbrushes. I was afraid they would end up with brush stokes on them but they dried perfectly! :)


I did a bit of research for this one and the main problem people seemed to have was with the paint dripping as it dried. So I wrapped the glass in paper towels and secured them with some masking tape. It was pretty much all for nothing though - no drippage! Maybe it was my blackboard paint but a little bit of masking tape would have done the trick. Better safe than sorry though, right?


Oh and if you don't have any blackboard paint there's a great tutorial over at Salt Tree to make your own! I haven't tried it yet but it looks great. I might try making some green and red paint so I can make my Christmas glasses after all.


Or I could just write some Christmassy messages on these ones... :)

Make your Own Chalkboard Wine Glasses
I also painted an old picture frame with the paint too. All that's missing is a photograph... and some wine!

Things I've learnt:
- Don't use cheap pound shop paintbrushes or you'll end up with lose brush hairs ruining your pretty glasses!
- Make these a few days in advance of when you need them. I had to do two coats and it takes a long time to dry fully. But the actual process is very quick!
- They're probably not dishwasher safe but you can hand wash them no problem. Just don't try to wipe them clean with a damp tissue. Unless you like little bits of white tissue all over your pretty glass! Oops.


Linked up to - Thirty Handmade DaysLadybird LnIt's a Hodgepodge LifeMy Romantic HomePetals to PicotsBlissful and DomesticCraftionaryOne Artsy MamaPractically FunctionalWTFabIt's So Very CheriSewlicious DecorA Night Owl BlogSix Sisters' StuffCreating my Way to SuccessBe ColorfulMaking the World CuterThe Chicken ChickProject InspireSew Can DoSewing BarefootToday's CreativeSugar Bee CraftsFunky Polka Dot GiraffeHope StudiosNew NostalgiaHomeworkLadybug BlessingsSo I Married a Craft BloggerThe DIY DreamerSeven Thirty ThreeFireflies and Jellybeans

Tuesday, 30 October 2012

Hot Water Bottle Heat Pack Tutorial

Microwavable Hot Water Bottle Heat Pack


I'm trying to think up some ideas for Christmas presents that I can get started on and I came across lots of cute heat packs on Pinterest. I was torn between making one of those and making a hot water bottle cover when I realised I could just combine the two! :) Just fill the little hot water bottle with rice and a few drops of lavender oil and you have a microwavable hot water bottle!


Hot Water Bottle template - free download

First download my hot water bottle template here. This make quite a small hot water bottle but you could easily enlarge it.
(And if you like it and want to show your appreciation by clicking on a few ads I promise to keep supplying you with free stuff! :)


Print and cut two copies of the template in a cotton fabric.


Pin your two hot water bottles together (right sides facing if your fabric has a right and wrong side). Sew around the outside, leaving a small gap on the bottom edge so you can turn and fill it. I sewed a zig zag stitch around the outside afterwards just to make it extra secure. (Don't want any rice escaping!)


Mix some rice with a few drops of lavender oil and leave to dry. Then fill your hot water bottle with rice. Sew across the bottom to close it up.


Next I sewed a little cover for it. I kinda just figured this out as I went, using the original template as a rough guide. As you can see from the picture, just leave a few inches of extra fabric at the top. I cut along the fold.


Then sew it up in a similar manner to the soap pouch I made.


This is what the other side looks like, with the hot water bottle tucked safely inside.


Sew your own microwavable rice filled hot water bottle heat pack!


The finished product. :)

Things I've Learnt:
- I filled mine with rice as that's what I had in the cupboard but after trying it out a few times it doesn't really hold the heat that well. It's lovely and hot for about 10 minutes but it'd be nice if it lasted just a bit longer! I know you can use buckwheat and flax seed too so maybe they'd be better!
- This little guy is quite small so I might have to make a bigger one next time. You could easily enlarge the template though.
- Be careful when heating these in the microwave, nothing worse than smelling burnt rice instead of lavender! They're pretty small so 1 minute to 1 and a half minutes max! It's a good idea to watch it and turn and shake it half way through.

*Thanks to Melanie @ My Mulberry Junction for her comment - dent corn might be a better option than rice to keep the heat a bit longer! :) And to Jessi @ Practically Functional who suggested using lentils instead! I think I'll just have to make another one to test it out! Oh and thanks Fran for her tip about putting a cup of water in the microwave with the heat pack to keep the rice from drying out/burning!


                                                                  Photobucket


Linked up to - Be ColorfulMaking the World CuterThe Girl CreativeSew Can DoCreating my way to SucessMy Fave FindsSewing BarefootMorsels of LifeToday's CreativeThe Creative ItchSewlicious DecorSugar Bee CraftsFunky Polka Dot GiraffeHope StudiosHomeworkLadybug BlessingsNew NostalgiaDIY DreamerSomeday CraftsSugar and DotsThe Trendy TreehouseSemi Homemade MomSeven Thirty ThreeLil LunaMichelle's Tasty CreationsFireflies and JellybeansThe Crafty Blog StalkerOne Artsy Mama

LinkWithin

Related Posts Plugin for WordPress, Blogger...