

I had a lot of fun making my first iPad cover so I decided to make another one! :) As much as I love my iPad
It's a lot of fun to make! Want to make one? Well keep reading!

Here's what you'll need:
- 2 pieces red felt for the inside @ 10" x 12"
- 2 pieces red felt for the outisde @ 10.5" x 12"
- 1 piece grey felt approx 8" x 10"
- 2 pieces wadding @ 10.5" x 12"
- red and grey thread, white embroidery thread
- velcro (preferably red)
- 2 large white buttons

Once you've cut out all your pieces, pin the velcro to the top of two pieces of red felt.
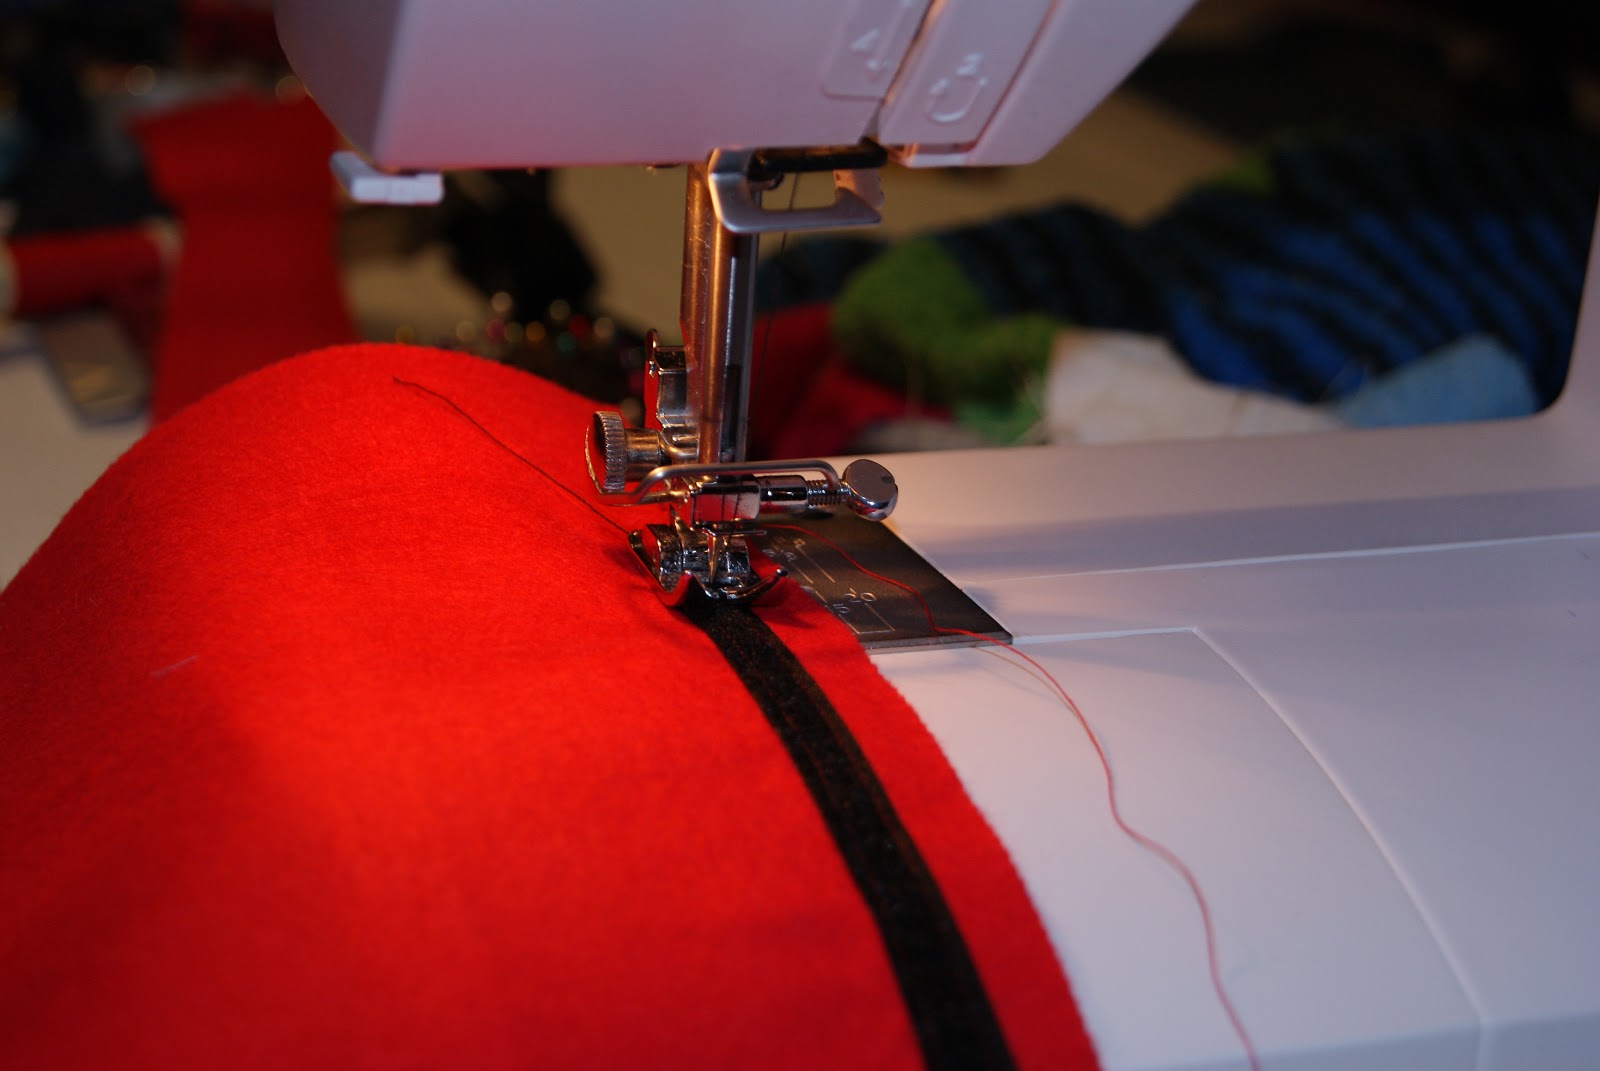
Sew them in place, making sure they will line up properly. Use at least two or three rows of stitches to keep it nice and secure. We don't want your little iPad falling out! :)

Once that's done, pin the two pieces of felt rights sides together. You velcro should be closed and hidden, like the picture. Sew down the sides and across the bottom but leave a gap of about 3 or 4 inches at the bottom for turning later. Make sure you don't sew across the top!
This will be the inside of your cover so if you're not sure how much seam allowance to leave, test to see if your iPad fits in snugly!

Now we can get to work on the outside of your cover. First you need to cut a rectangle out of one piece of red felt. You'll be putting the grey felt behind it as your Etch-a-Sketch screen. I wish I'd made my "screen" a little smaller but I'll give you the dimensions I used and let you make up your own minds! It's 6" x 8¾".

This is the really fun part! You could do any design you liked on this. I went for simple, figured sewing it with my sewing machine might be almost as tricky as drawing it on an Etch-a-Sketch! First I drew my design on the felt using a vanishing ink fabric pen and my trusty ruler. Then I sewed over the lines with grey thread, easy. :)

Next you place the grey felt behind the red frame and pin it in place. Sew around the edge to secure it in place.

Sew your two large white buttons in place. Now you have the knobs for your Etch-a-Sketch.

Use your embroidery thread to add some text at the top. Make sure to leave enough space at the top to allow for your seam when you sew it all together! (This is why I wish I'd made my "screen" a bit smaller).

Sew your wadding onto each piece of red felt. This will keep it in place for the next step. Make sure you sew it to the wrong side of your front piece!

Pin your two pieces of felt/wadding together, right sides facing. Sew around the two sides and the bottom. Leave the top open.

Clip the corners, trim the excess and press your seams. Then turn your cover the right way out.

Now take the inside piece that you made earlier. Place the cover inside it so it looks like the picture above.

Pin the pieces together and sew carefully along the top.

Using the gap at the bottom of your inside piece turn your cover the right way out. The two pieces should be joined as they are in the picture. Sew across the bottom of the inside piece to close the gap and push it inside the cover.

Test drive it with your iPad! :)
Things I've Learnt:
- Leave a little extra felt on the top/open end as when you sew it up at the end you'll lose a little space.
- Press the seams, I'm lazy so I didn't and regret it. :(
- Sew the buttons on after you sew in the grey felt, much easier than trying to navigate around buttons with your sewing machine!
- If you don't have a vanishing ink fabric marker then print or draw your design and pin the paper to your felt. I did it this way when I made my felt marbles maze and it worked out great!
- I'm thinking this would make a cute phone or kindle cover too.
- You could always buy a hard cover one if you're not a sewer. :)

Linked up to: Creative Itch, Threading my Way, Earning my Cape, Someday Crafts, Sugar and Dots, The Trendy Treehouse, Handy Man, Crafty Woman, Semi Homemade Mom, DIY Crafty Projects, Hey Mommy, Chocolate Milk, Michelle's Tasty Creations, Fireflies and Jellybeans, The Crafty Blog Stalker, One Artsy Mama, Thirty Handmade Days, Ladybird Ln, Its a HodgePodge Life, Romantic Home, Petals to Picots, 504 Main, Craftionary, The Gingerbread Blog, Cheerios and Lattes, A Night Owl Blog, Six Sisters' Stuff, Polka Dot Pretties, Or So She Says, Sew Can Do
I love this cover! So cool! Etch-a-Sketch brings back memories! I'd love for you to share this at my link party Submarine Sunday. It's open until Friday @ 11:59pm. I hope you'll stop by!
ReplyDeleteT'onna
http://navywifeypeters.blogspot.com/2012/11/submarine-sunday-5.html
very very clever! I would love for you to add it to my weekly Mom's Library Link-Up along with any other of your amazing posts.
ReplyDeletehttp://heymommychocolatemilk.blogspot.com/2012/11/co-hosting-moms-library-4-for-me.html
Thanks and be blessed,
Julie
What a fun iPad cover and an easy to follow tutorial. I try to get away without ironing, but I usually regret it... LOL!!!
ReplyDeleteOh my gosh! This is so cute and clever! And it brings back childhood memories. I loved my Etch-A-Sketch, yet my kids would probably be bored by it within minutes because they are so used to the i-Pad.
ReplyDeleteI've featured your Etch-a-Sketch iPad cover today...
ReplyDeletehttp://threadingmyway.blogspot.com/2012/11/threading-your-way-features_10.html
If I had an iPad I would so have a cover like this - too much fun!
ReplyDeleteNewest follower here! I found you through the Saturday blog hop :) Such a cute idea, I love it
ReplyDelete-Melanie
P.S. I’m doing a $50 Shabby Apple giveaway on my blog. You should check it out here: http://meandmr.com/post/35113285949/shabby-apple-50-giveaway
Oh my goodness this is adorable! I'd love to have you join my Pin Me Linky Party because this is an awesome idea! I'm going to pin it now! I am following via GFC & Pinterest!
ReplyDeleteDiana
Diana Rambles
Bento Blog Network
Link Rink
I would love for you to share this (or any of your other great ideas) at the link party going on through tomorrow night at ‘Or so she says …’ Hope to see you there! www.oneshetwoshe.com
ReplyDeleteI love this ipad cover! Can you make me one :) This is a super tutorial and I guess I'll be getting out my sewing machine sooner than I thought. Thanks so much for linking up to Creative Thursday. Can’t wait to see what you share this week! Have a wonderful week.
ReplyDeleteMichelle
What a great idea, it is just too cute! Thank you for submitting it at the SHOW-licious Craft Showcase. I would love to feature this in a Guest Post if you would like to participate! :)
ReplyDeletehttp://sew-licious.blogspot.com
This is a really great idea!
ReplyDelete