

I've been meaning to make a sock monkey for ages, even had the perfect socks chosen and waiting. So I finally got around to it and let me tell you - sock monkeys rock!! It takes a while to sew all the parts on but the result is so worth it. :)
How cute is this little guy?!
<----

Wanna make one of your own? You could buy one but making it yourself is half the fun! Grab some socks! Stripey ones look very cute and make it easy to match up the sides when sewing.

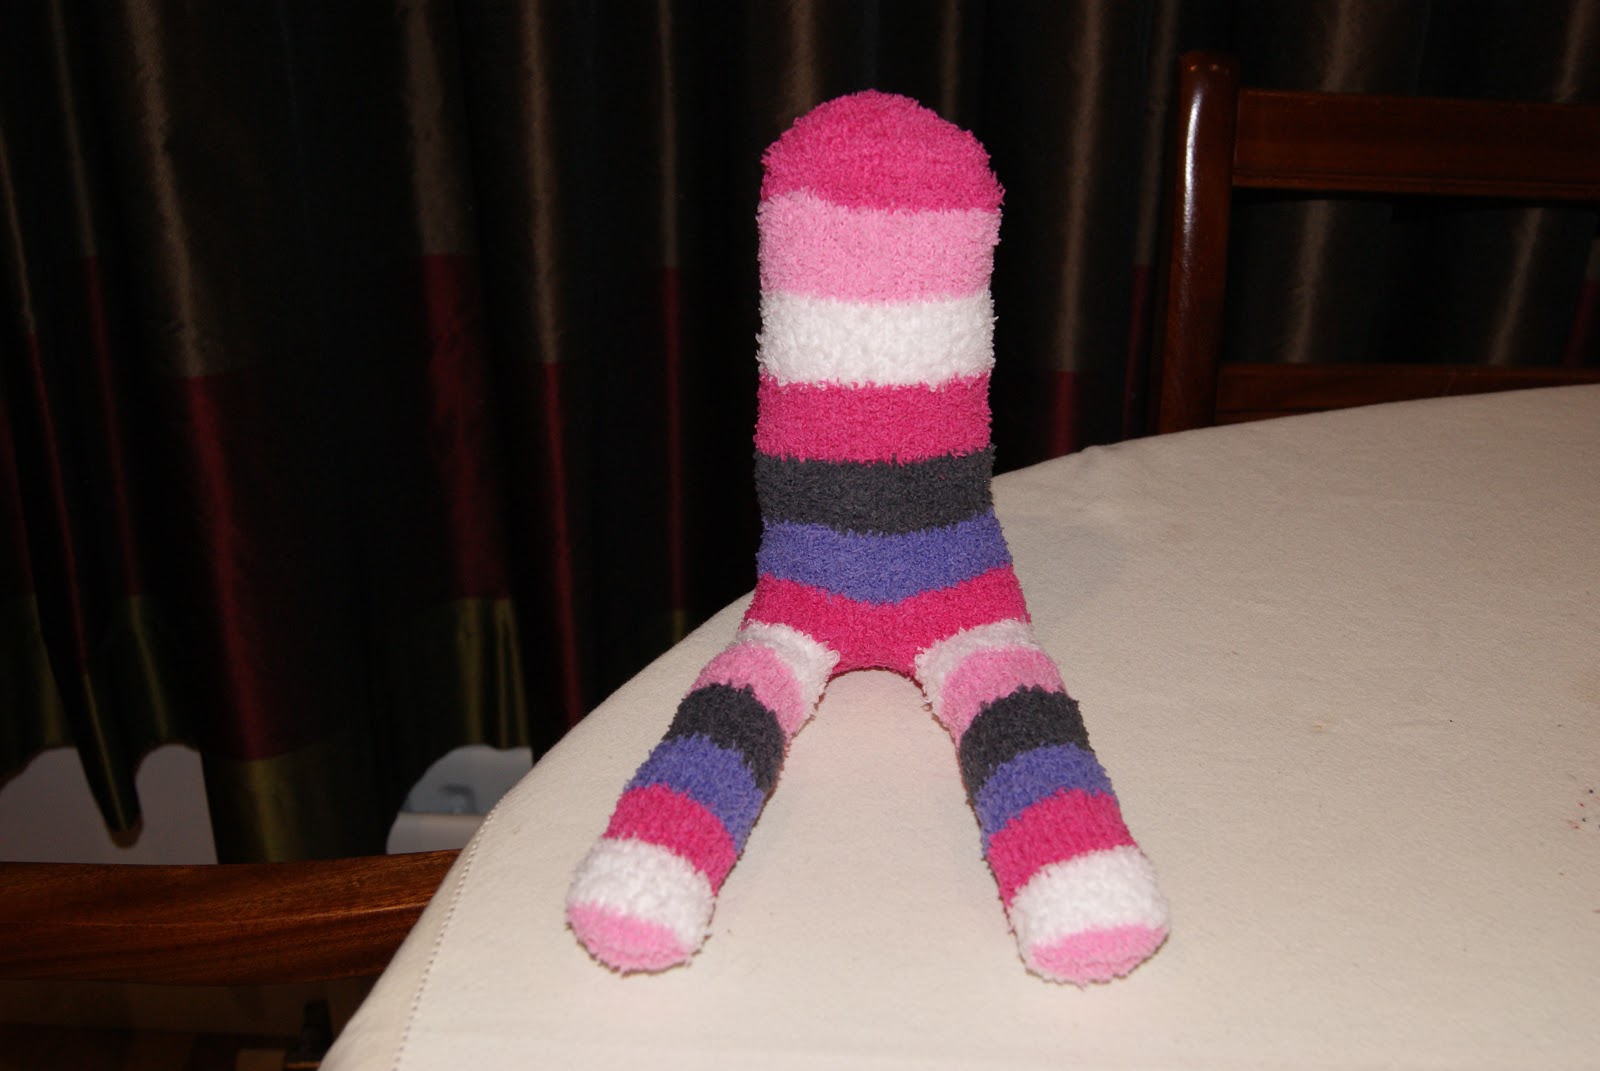
Lay out your socks like this (inside out) and press them. Then mark out your pattern. The first time I cut out all the pieces first and then sewed them. Big mistake! It's way easier to sew first and then cut. :)

Here's the pieces all laid out. When you sew his legs make sure to leave a gap at the top so you can turn it and stuff his body and legs.

Turn all the pieces bar the tail the right way out. Cut out a bit of white felt and pick some buttons for his eyes.
Stuff his body and legs. Sew up the gap using a ladder stitch.

Next sew his eyes onto the felt. Then sew the felt onto his little face.

Stuff his arms and ears and sew the open end using a ladder stitch. Fold the ears in half and sew the bottom to make them look rounded and pinched.

Stuffing the tail is probably the trickiest part. For the normal sock one I just took a darning needle, threaded it and knotted the thread. Then I sewed a few stitches into a long piece of batting and fed the needle through the tail. Pull it out through the very tip and then gently pull the thread so it moves the batting all the way through the tail.
For the fleecey one this just didn't work!! I think my batting may have been too wide or something but it kept breaking as I pulled it through! In the end I sewed a separate line of thread through the batting to make it more secure and then it worked okay.

Then sew your tail in place.

And sew on his arms and ears.
Pin his mouth in place and sew 3/4 way around, stuff and then sew the rest. Use embroidery thread to sew on his mouth (use a backstitch).

Then let your little guys rock out.

Too cute, right? :)
- Sewing fleece is a pain! The sewing machine did not like it! And its really hard to see the lines you've sewn when it comes to cutting. But thankfully it's also really hard to see the hand sewing you patch up your mistakes with! :)
- Make sure to sew the eyes onto the white felt first before you sew the white felt onto your sock monkey's face! Much easier. (I learnt the hard way...)
- Use good quality socks, my non-fleece monkey is a little see through now he's stuffed. :(
- Two sock monkeys are even cuter than one.

Those are adorable! I love your instructions too--the seem very do-able! I'm pinning!
ReplyDeleteThanks Carla! They really are so easy to make, although it takes a while to sew on all the body parts! I'd love to see a picture if you make some! :)
Deleteyour instructions are really easy to follow! are you a teacher per chance?
ReplyDeleteLove this! I think there is nothing cuter than a sock monkey! :-)
ReplyDeleteI love sock monkeys and I have always wanted to make one myself but didn't know how. Thanks for the great tutorial. I would love for you to share this on my Linky Party going on now - Blog Stalking Thursday. http://www.thecraftyblogstalker.com/2012/09/blog-stalking-thursday-60.html
ReplyDeleteThanks Katie! I'd love to see your sock monkey if you make one! :) I'm all linked up to your party too, thanks for hosting!
DeleteOh, I love your sock monkeys! Very cute. :-)
ReplyDeleteThanks so much for stopping by Taking Time to Create and commenting on my Crochet Striped Tote post. It's really not too difficult to crochet (much easier that I thought it would be). When I first started I went to JoAnn's and bought a beginners "kit" with a little book and all the tools (other than yarn) that I would need. I was a huge help and I still refer to the book when I'm a bit rusty on a stitch. Good luck learning!
This is so cute!!!!
ReplyDeleteThanks for sharing with my Super Link Party! :-)
These are both super cute but I LOVE the fleece one. Great tutorial. Thanks so much for linking up to Creative Thursday. Can’t wait to see what you share next week. Have a great weekend.
ReplyDeleteMichelle
These are SO cute! I am excited to make one...maybe for my little boy. I know I have some socks stuffed away somewhere that I've been saving for a project like this. Thanks for the tutorial!
ReplyDeleteJessica
ADORABLE!!! Thanks for sharing!
ReplyDeleteVery cute! I'm stopping by after your comment on my odd socks post, looks like we should definitely try these next!
ReplyDeleteI just made some and love them. Gave one to my new grandson! I used the original Rockford socks but I like the look of other socks too!
ReplyDeleteI love the sock monkey you sent me last year for your 100th Follower Giveaway! He is sitting atop the bookcase in my sewing room!
ReplyDeleteNot sure if my comment went thru, but I was one on the lucky winners of your Sock Monkey last year! He is proudly displayed on my bookcase in my sewing room!
ReplyDeleteThank you for posting the instructions...I want to make one!
(ps I still plan on sending you a craft!)